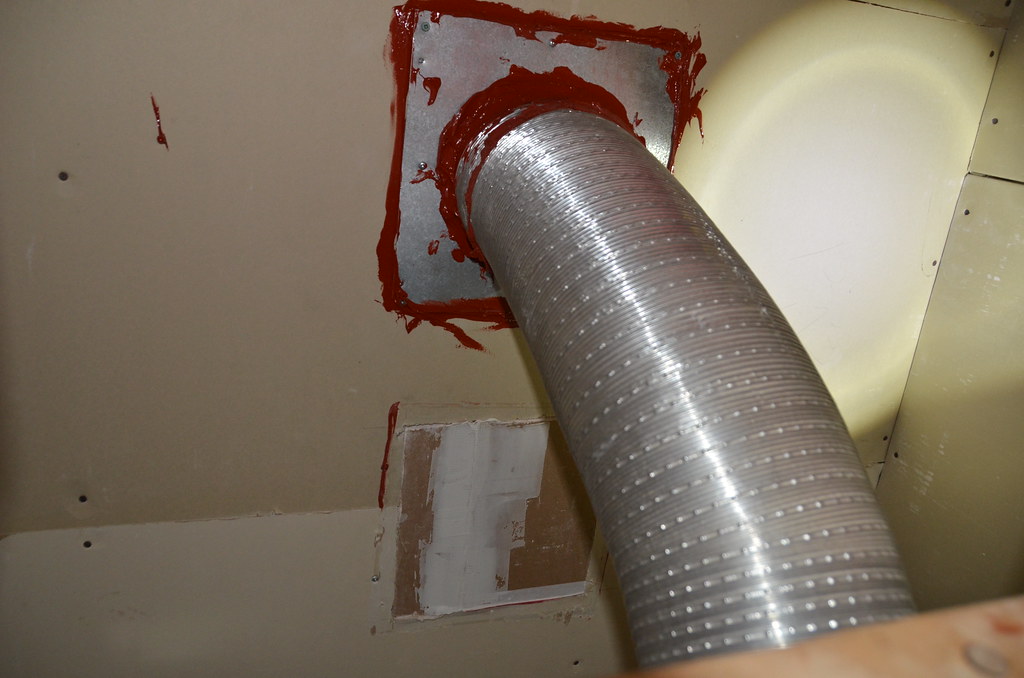
There was a large metal cover on the outside of the house that the direct vent came out of and we lucked out because it was 2 feet high. We ended up using some of the empty portion for the new placement. The empty top portion was part of a heat shield and we used that area for the new hole and left a small heat deflector in place. We tested the heat after installation (leaving it on for an hour at full blast) and there was no major heat build-up. All my neighbour's houses with the same gas fireplace just have the single 12x12 inch panel. Why ours was 12x24 inches I'll never know (a screw up at build time? It worked out though).


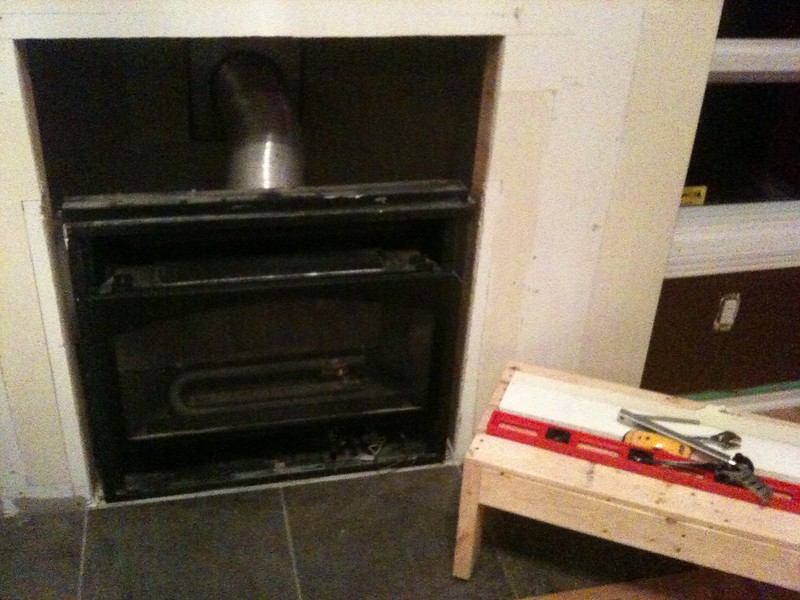 I built a bench to sit it on (it was sitting on unfinished plywood when I opened up the wall so I knew that would be ok), cut up the drywall, hauled the fireplace out and sat it on the bench. We got a natural gas guy to move the gas-line and do the venting to code.
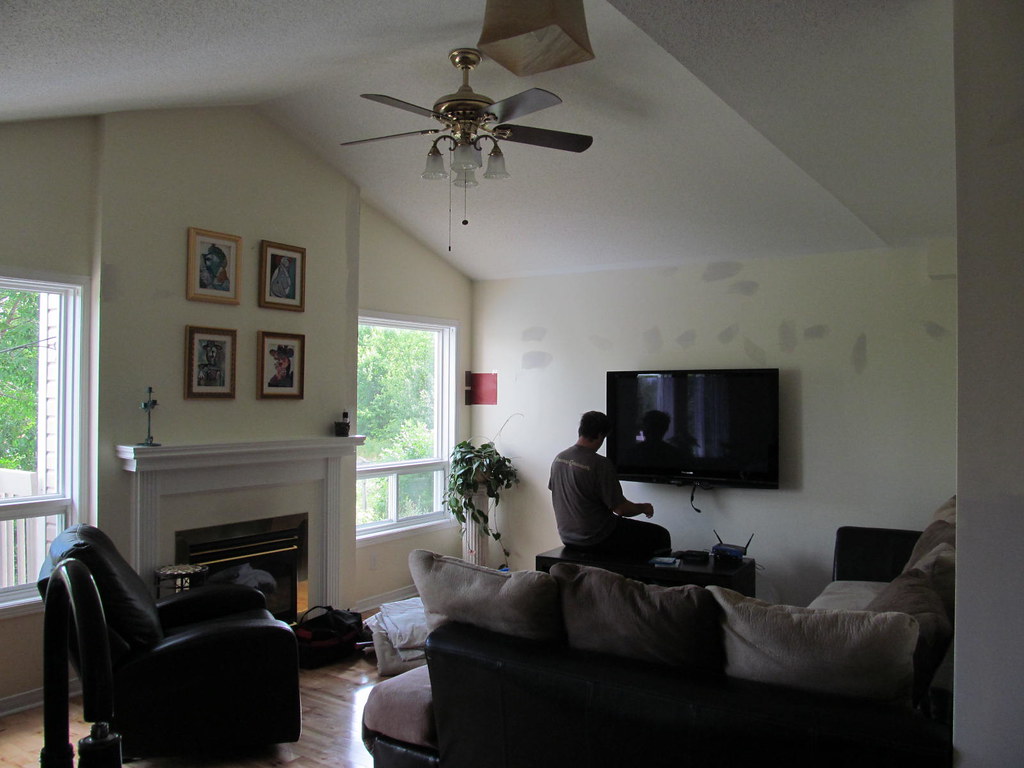
At this time we took the opportunity to get rid of the tile hearth and just continued the surrounding hardwood right to the wall.
This was great fun (not) because you had to slice up the existing interlocked boards with a saw, chisel them out and then wack the new ones into place with a hammer and another piece of wood in between to keep them nice and un-dented. When they were in place I just pre-drilled holes and screwed them down as opposed to renting a nail gun. I found some long narrow screws for the job and they worked great. With the hardwood done it was time for the stone veneer.


 I laid a coat of mortar on the wall and scraped with with a notched trowel and back-buttered each tile before tapping it into place with a rubber hammer. When stuff came squiring out the sides I knew I had good adhesion (wipe off the excess with a warm wet cloth). I checked each stone piece with a level before moving on, shimming slightly here and there with sticks to maintain a good level (these stones are not totally level and neither was my floor/wall). I installed a mantel and that made for some interesting cuts around that and the fireplace switch box (I brought this out about half an inch to be flush with the stone). For these cuts and the angled ones on the ceiling I used an angle finder and made paper forms which I then traced onto the stone. If anything, i went a little big, test-fitted and then went back to trim until it fit perfectly. For the sides I just cut a pile of 3 inch wide pieces and stuck them in place. In most cases the front piece stuck out to form an overhang of about a half inch. Due the the variance in the thickness's of the stone it was impossible to be flush everywhere so I didn't really try. It makes for some very interesting adjoining pieces and I actually like it like that.
The stuff was pretty easy to work with if you know your way around a wet-saw and it's hard to make it look bad if you know what I mean. Thank got it's finished so I can go back to killing Zombies on by Xbox and playing guitar....

